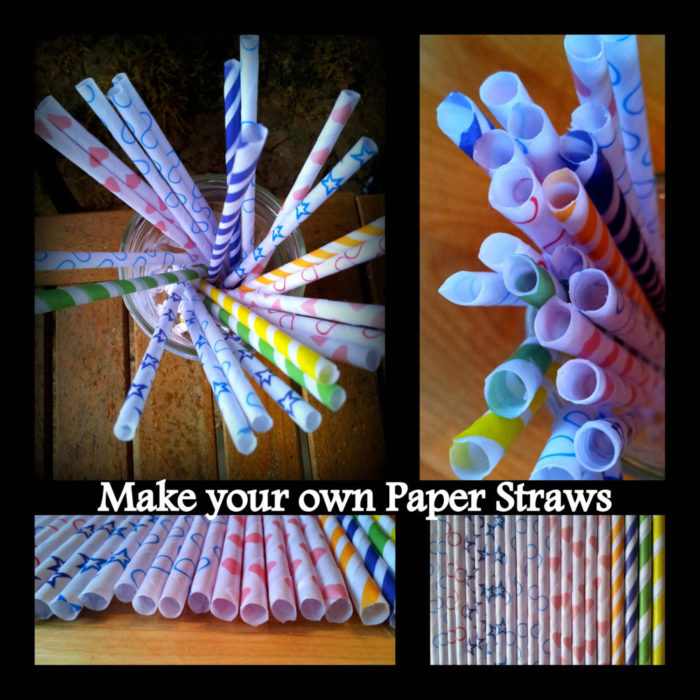
I have never been this excited about a project! EVER! You should have seen me running around the kitchen screaming to myself like some modern-day drinking-straw-Einstein. On second thought, it’s good you didn’t experience this Paper Straw Eureka!
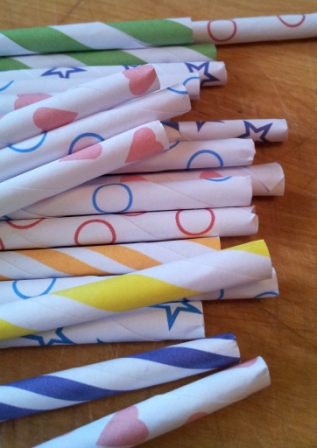
Although paper drinking straws are now much cheaper than they were, I find the idea of making them (and the freedom to choose my own color and design) exhilarating. I searched and searched and couldn’t find a tutorial anywhere. And of course I then had to make one.
In this day and age there are so many convictions/beliefs to cater for. This has made the whole endeavor a lot more tricky.
Will the final product be fit for vegetarians and vegans?
Will it be ecologically satisfying to the greenies?
Will it be non-toxic?
Will it even work?
I have used both corn starch paste and gelatin glue with great success. I prefer the gelatin glue, though, because it is thinner than the corn starch paste and thus makes for less irregularity in the completed straws. But the corn starch works.
I used (and will advise you to use) paraffin wax to seal the straws with. But being well aware of the paraffin-wax-is-a-toxin-from-the-devil debate, I have ordered some soy wax to test. I will update the post once I know if it works as well as the paraffin wax. I’m sure it will.
Update 15/11/12: I have now tested the soy wax and it didn’t work nearly as well as the paraffin wax. To read more about it, see my post about using soy wax for sealing paper drinking straws.
Just as an aside, the paper straws you buy – unless stated otherwise – have been coated in paraffin. If you have any concerns, read my little paraffin wax blurb at the end of this post. For more information about soy wax and paraffin wax, see the post I did about Soy Wax versus Paraffin Wax.
As for the printer ink/paper being possibly deadly – bah! They are coated in paraffin wax and will not be absorbed/ingested in any way. Unless you decide to eat the straws, in which case you’re on your own.
Are you ready?
How To Make Your Own Paper Drinking Straws
You will need:
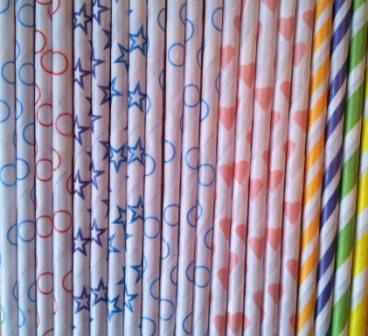
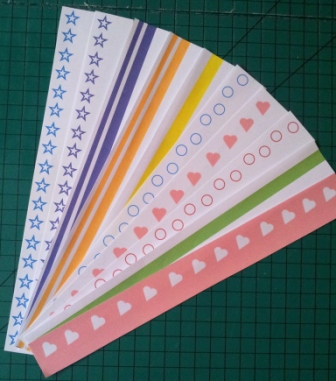
- Templates – you can find all my available Paper Straw Templates here.
- Scissors/Rotary Cutter
- Paraffin Wax
- Gelatin Glue or Corn Starch Paste (you could use a non-toxic glue stick, but I don’t advise it)
- A Large Pot
- A Mason Jar or some similar wide-necked vessel that is at least 2/3 as high as the straws
- Paint Brush for applying the glue
- Straw to roll straws around (you could use a dowel, but I tried it and it was really difficult to get the completed straw off the dowel)
- Paper Towels
- A Chopstick – yes, really. Make sure the tapered end of the chopstick fits into the straw.
Instructions
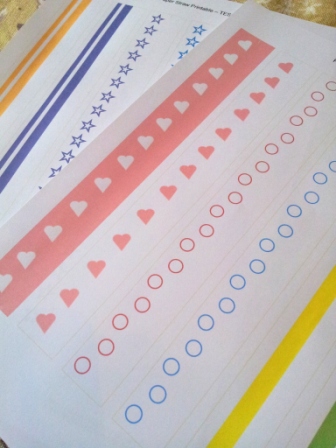
Print out the template. You will be tempted to print it out on card stock. DON’T. Use plain old printer paper.
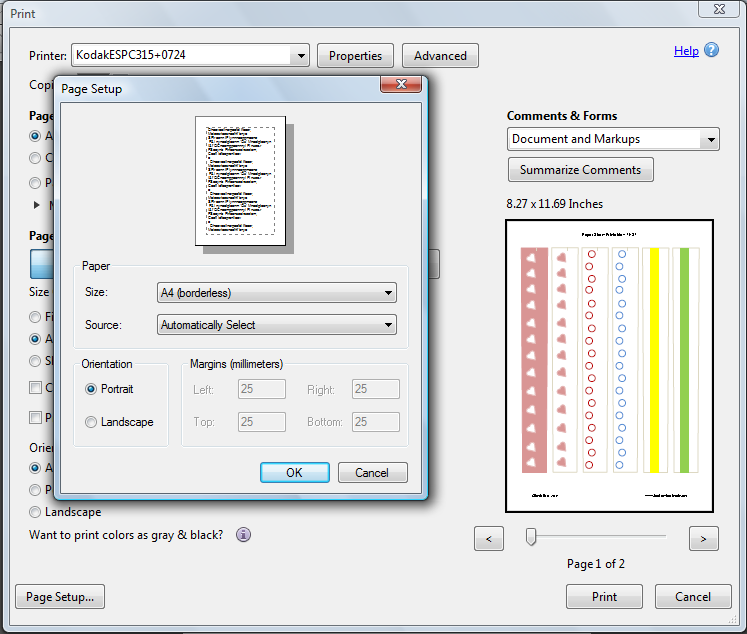
Make sure you print it out to the actual size. To do this, click on Page Setup when printing. Then select A4(borderless) as your size. Click OK and Print.
If you have a large kitchen and can sit at the kitchen table and cut out your straws while the paraffin wax heats, I would strongly suggest getting the wax started first. But paraffin wax is highly flammable and should be melted over a low heat with constant supervision. And it takes forever to melt!! So if you need to do the cutting and rolling in another room, do that first and then come back to this step.
Melting the wax
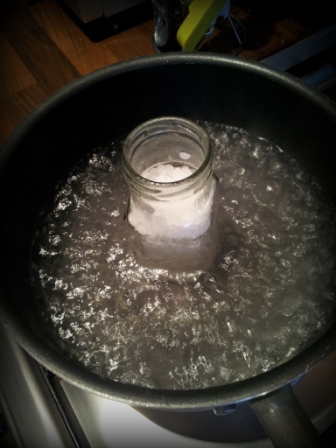
Place the wax inside your mason jar (I used a diddy Sharwood’s pot as I didn’t have a mason jar available). Put the mason jar inside a pot and fill with boiling water. Turn the heat up so that the water is just boiling.
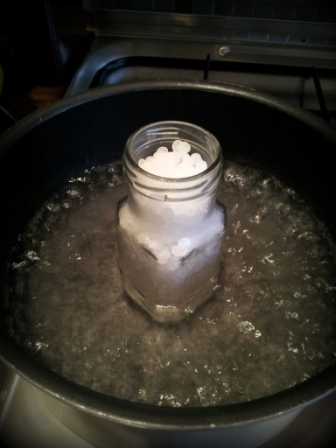
As the wax melts, the level will go down, so you will need to add more. I suggest adding enough wax that 2/3 of the straw will be immersed when dipped.
While this is going on, cut out your straws, making sure to cut inside the lines. The paraffin wax will make the paper slightly transparent, so any lines will show.
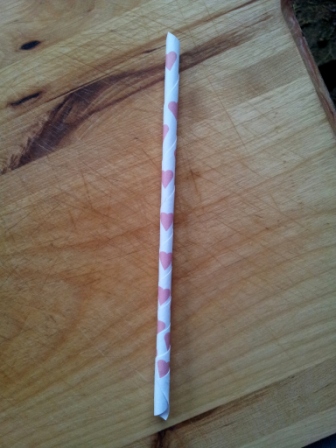
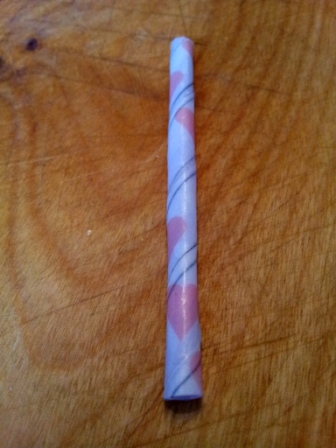
This was one of my first test-straws. Obviously the black outline was a bad idea. So was not cutting inside the lines.
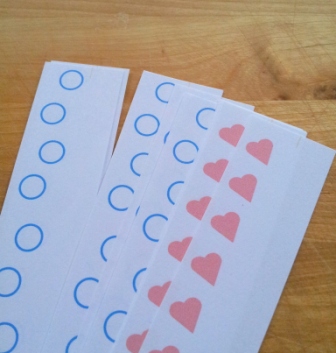
You will notice that the templates are slightly wider at the top than at the bottom. Very long story short: due to the imperceptible thickness of the paper and the glue, the spirals become closer to each other as you near the bottom (see the photo). By tapering the template, you are making the spirals more regular. (The same will happen if you spread your glue too thickly or if your rolling angle is too big – more below.)
Glue and Roll
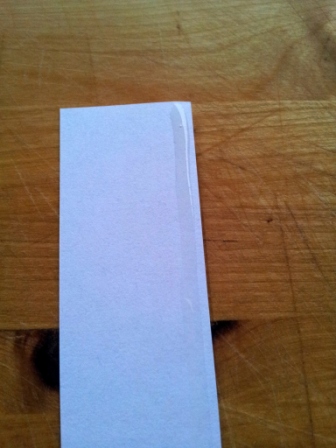
Now turn your template around (keeping the top at the top) and apply your glue to the right edge. Exactly as on the photo. If you are in any doubt, double-check that you are, in fact, placing the glue behind the design and not behind the blank side. As you get more comfortable with the whole procedure, you can start spreading the glue all the way down and then rolling. But to begin with, just do a 5 cm strip of glue and get the first turn stuck down before applying more glue.
As I was using the gelatin glue outside and in the rain (in order to optimize lighting for photos), I used a little make-shift bain marie to keep it nice and runny. It is worth noting one brilliant advantage of the gelatin glue: if the whole straw goes completely pear-shaped, just unroll it quickly (but gently) and rub the gelatin glue off. It comes off in little jelly balls :)
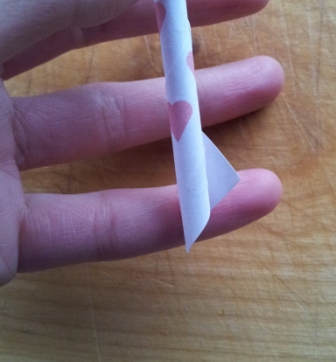
So…with your glue applied, place your straw on the top left corner and start rolling your paper around it. You want to put the straw at a 15-20 degree angle to the paper. Rather less than more! If your angle is too big, your spirals will become closer to each other towards the bottom (the same as when your glue is too thick, you apply uneven pressure, or you don’t taper your template) and your straw will be super short.

This is the right way (above). See how even those spirals are?
This is the wrong way (above). And look at the difference between the two.
Starting from the left corner, roll the paper around the straw, making sure that you are on, or below, the rolling guide mentioned above.
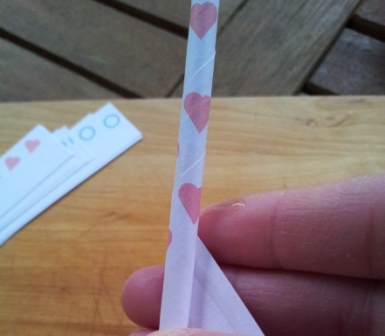
Continue rolling the paper around the straw until you get to the end. I find it easiest to twist the straw with my left hand while guiding and pressing the paper with my right.
When you get to the end, apply a touch more glue.
Apply gentle pressure for a second or two and rub off any excess glue at the same time. Remember to remove the plastic straw when you have finished rolling your paper drinking straw.
Roll…roll…roll…
If your straws appear flimsy, don’t be concerned. The wax will harden them.
Trimming the ends
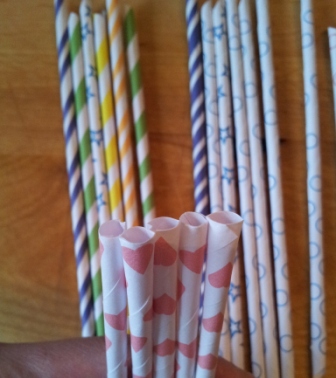
When you are all done rolling, cut off the pointy tips. You can cut them individually, but I like cutting them a few at a time. I use an already-cut straw as a guide so that all of them are even.
The ends will look a bit sad now. Just poke and prod them to get them nice and round again.
Dipping the darlings
Once your paraffin wax is all melted it is time to dip the straws.
Turn the stove off. It’s way easier to do this without steam everywhere. Make sure you have your kitchen towel/paper and your chopstick to hand.
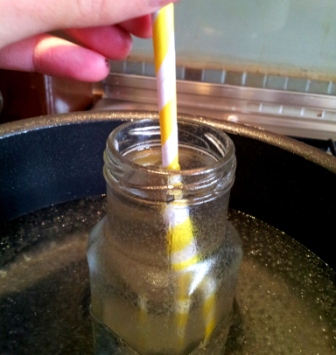
Take one straw. It doesn’t work with a bunch, I tried it. Dip it into the melted wax. Make sure you dip more than half the length. Lift it out of the wax and shake off any excess wax.
Now give the straw a gentle wipe with the paper towel. You don’t want to remove the wax, just smooth it out a bit. If you remove too much wax, your designs will fade in the water and your straw won’t be as strong as you’d like.
I find it easiest to keep a piece of kitchen towel in my left hand and roll the straw on it with my right hand. For a neater finish, roll along the lines, not against them.
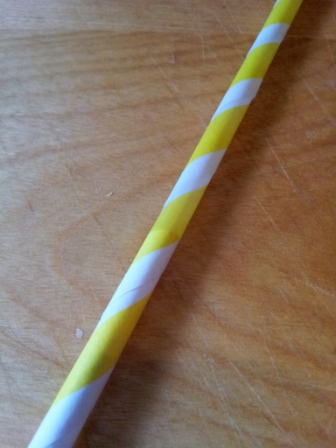
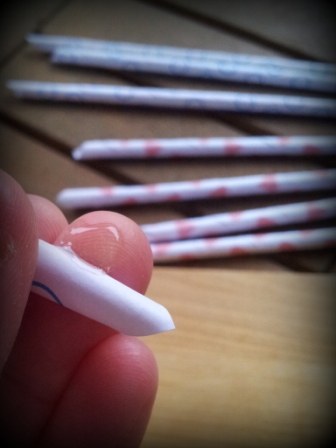
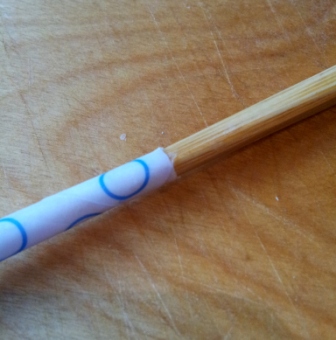
Now quickly take your chopstick and poke it into the end of the straw. You are using a chopstick because the points are usually tapered, making it the ideal tool to insert into the straw. When it starts meeting resistance, roll it two or three times and then remove. This makes the end nice and neat and removes the thin layer of wax that accumulates at the mouth of the straw.
If you take a close look at the photo below you can see the difference between the waxed and unwaxed ends.
Now repeat with the other side of the straw, making sure to dip it into the wax past the previous dipping point.
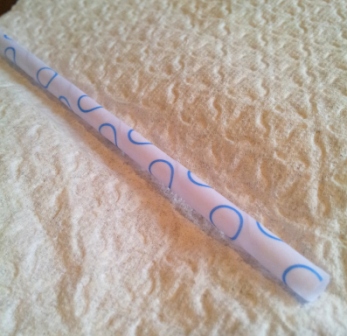
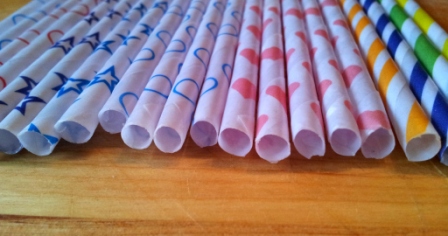
And there you go!
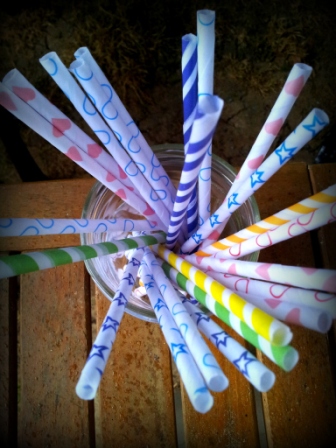
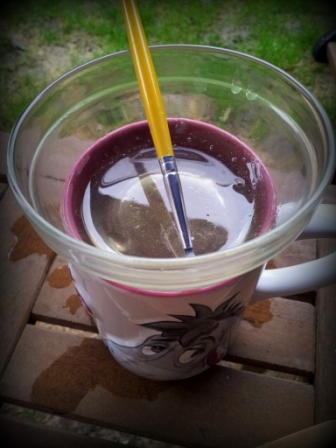
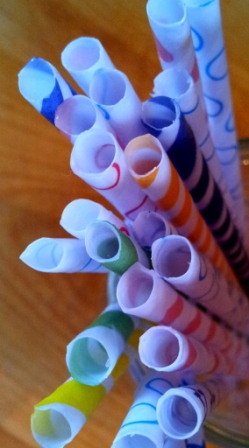 I tested one of these paper drinking straws in a glass of water for 8 hours and it was still fine. Anyone who still has a straw in their drink after 8 hours was obviously not very thirsty to begin with, and shouldn’t complain if the straw disintegrates after that length of time.
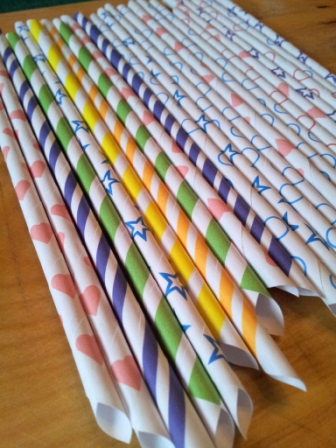
I hope you don’t find this project too daunting, because it really isn’t. You can make, from scratch, 20 straws in an hour. The main time constraint is the melting of the wax…soooo slooooow.
And if you mess up one or two (or five) straws, take heart. After making about 60 of them I still occasionally got the angle wrong or applied too much glue. It’s not the end of the world :)
Printable Paper Drinking Straw Templates
Much Ado About Paraffin Wax
I am well aware of the controversy surrounding the use of paraffin wax and the belief that it is harmful.
It isn’t, in fact, toxic. It is also non-digestible, so it comes out pretty much like it went in. It is used in crayons, candles, wax paper and -cloth, candies/chocolates, chewing gum and as a coating for cheese and a sealant for preserves. These are but a few of its uses.
For this project you won’t be burning it, so no soot and harmful toxins from that.
And you won’t be eating it…
…at least, I hope not.
I hope you feel inspired to make your own paper drinking straws and would love for you to share your results with me.
Remember to subscribe to my newsletter if you would like to be kept in the loop. You can also like my Facebook page or follow me on Bloglovin or Google+.
Happy Baking!




Pat Vandecapelle says
Think this is a cute ides. As I was wondering when you might want to use them, I figured parties and party designs would be wonderful, such as Birthday cake or even a candle, numbers like 1-9 for ages, graduation tassel, …
ecostraw says
This is one way of showing your creativity at the same time helping with the preservation of our planet earth. We should learn that we are responsible for the protection of our planet. We can start by using eco-friendly products.
Mia says
It definitely shows creativity and even if I was not looking for paper straw tutorial but starch glue, I stumbled onto this one, was intrigued, and enjoyed reading through the whole post. Kids love straws and I will consider making a version of these for mine! BUT – as these are covered in paraffin, which is a product from crude oil, just like most plastics, they are actually not doing that much to preserve the planet earth versus regular plastic straws, so let’s not get too confused here.
I think the writer seems quite well aware of issues around paraffin (and even educated me about paper straws being coated with paraffin – didn’t know! And I try to avoid all crude oil products, for the most part. I don’t use paper straws either, but it’s good to know!!), and is making these as a fun home made product rather than an eco-conscious product. I mean, gelatine is also a product from animal agriculture that is one of the main culprits for the climate crisis.
While I do not support using these products, I give credit to the author for NOT labelling these eco-friendly, but for suggesting and trying to find alternatives to the paraffin wax and the gelatine as an option. (Hence why I found this post, off to making some starch glue now:) )
Happy Straws says
Thanks for doing this tutorial. I love my handmade straws and use them only on special occasions, Keep up the good work.
John Ferguson says
What a great tutorial on hand-made paper straws! I cannot think of another hand-made item that is as useful , as well as, fun and and easy to produce. Thank you for sharing the straws! A nice person is behind this website – keep pushing the straws!
Priscilla says
Hi! Thank you for your tutorial! Love it! I just have a question. Once I dipped my straws in the paraffin wax to seal them, it darked the color of the straws. How can I keep my straws still looking bright white? I was at Michael’s, and saw their straws, and don’t look faded at all! Other than that, I have the rolling and glueing down pat! Thanks foe your help!
Dedri Uys says
Hi Priscilla. My straws are all still pristine (at least, the ones I have left after more than four years!). I don’t know why yours got stained. Is American paraffin wax different to UK paraffin wax then?
Martha says
Thanks for doing this tutorial. I love learning to do things that most people think cannot be made by hand. Or as some relatives think, why do you bother. The reason, of course is, because it’s fun. And in the event of civil collapse, I’ll be the only one on my block with cheery paper straws. Keep up the good work.
Dedri Uys says
Haha, Martha. I am always saying: When the apocalypse comes, I will be able to crochet blankets/rope/bags or sew trousers/bake bread/make glue. In the (unlikely) event, I will come find you and your pretty straws!
Riess says
Beeswax! It’s slightly different from Paraffin, but works pretty much the same. The wax melts at a slightly lower temperature. We’ve been keeping bees for 42 years, and I can’t say how much beeswax I’ve eaten.
Amy says
Thank you so much! I was quite worried, because I sell it in my country (made by me) cause here are not very common…
janece says
I am coming out with a product line that stores natural food in jumbo paper straws. The manufacture of paper straws I was looking at said moisture from the air could seep into the straw and potentially harm the product. Thinking back on how long pixy sticks have been around, I really doubt if he is right. However, just to be safe, would coating the paper straws in paraffin wax prevent that from happening? I will be mass producing these so making them individually would not be an option. However, I love your ideas and appreciate the information. Why do you cover the straw in the wax? I am assuming it is to keep the straw from dissolving while in a liquid. Do you think covering my straws with the wax could help prevent the food inside from having moisture seep in? Thanks, Janece
Dedri Uys says
Janece, hi.
That is exactly why coat them and if you buy paper straws they will already be coated in parafin wax, otherwise they would dissolve too, and they don’t. If you would like to give them an extra dip, I am sure that it will help to keep out moisture.
Afifah says
Hi Dedri, i’m from Indonesia in Asia. You know what, it’s difficult to find this thing here. thank you for sharing ya. one question, did you print the template using ordinary paper and ink? Do we have to print it on special paper (with special ink)? Thanks.
Dedri Uys says
Just ordinary ink and paper will do. The ink will be sealed by the paraffin wax, so you don’t have to worry about the ink “bleeding”
Patricia says
Thank you! You are a genius! Used your template to cover some bright plastic straws in a pattern to coordinate with the paper pinwheels I made. Midnight crafting calls for creative solutions :0)
Dedri Uys says
Excellent :) Did you take some photos, Patricia?
Wendy VanWinkle says
Hi! Thanks for the great tutorial. A quick question because I didn’t see it anywhere in here…will these be hard enough to use for cake pops?? Thanks so much!
Dedri Uys says
Hi Wendy. They are definitely hard enough for cake pops. I’ve used them twice!
Lynnsey says
Thanks for a great tutorial! I really thought I’d be the only person crazy enough to want to do this so it was a nice surprise, and even better to find out that you’re a fellow South African :-)
Dedri Uys says
Hi Lynnsey. Yup. Great minds and fools, my mom always says. These straws aren’t tricky, so you should be able to make them quite quickly once you get the hang of it. I love my handmade straws and use them only on special occasions (or when I’m having a drink and need to be cheered up).
Fun Arts and Crafts says
Thank you for this tutorial. Did this for my daughter’s first birthday. :)
Haritha says
Hi I Loved your tutorial. Do you have other templates that I can use.
Dedri Uys says
Hi, Haritha. I will put all the templates I have on the site shortly.
stacio says
WONDERFUL!! Thank you so much for sharing – what a fabulous and fun project!
Peggy says
You are a goddess. Thank you!
Dedri Uys says
Lol, thanx
fun arts and crafts says
I want to make this but I don’t think I have the time to find for Paraffin Wax. Can I just use our unused white candle instead? :)
fun arts and crafts says
sorry.. i guess somebody asking about the candle thing already.. ;)
Katie says
I am so excited to make these but looking for striped, and chevron designs! Do you by chance have a template- or how do I go about making the templates?
Dedri Uys says
Hi Katie, chevrons are impossible because of the way these straws are rolled, but I have plenty of striped templates. I have emailed you the templates for hot pink, orange, black and yellow. I hope they are what you were after x
Wybie says
Omg…Dedri…you’re so amazingly detailed & completely brilliant! I don’t think I have the patience or the skills to make my own straws, but I loooovvee the fact that you did & you made them so spectacular!! Cheers!!
Dedri Uys says
Lol. Thank you :) x